 Time for some new ball joints and suspension parts. The Ranger starting pitching when I drove over uneven payments or lines in the payment. An inspection reveled one bad upper ball joint. Since all the other parts have to come off and I don't as a rule reuse a part once I have taken it off, new parts are in order.
Ball joints:
REMOVE THE SPINDLE
Raise the truck, support the truck using jack stands and chok rear wheels.
 |
| F150 simular design |
http://www.realfixesrealfast.com/realfixesrealfast.com/Steering_%26_Suspension/Pages/Ford_F150_Ball_Joint.html
2. Using a clamp, remove the pressure the brake pads exert on the rotor. Remove the brake caliper and tie/support it.
3. Remove the tie rod end from the spindle. Do not take the nut completely off, this will protect the threads (from hammer blows) should you reuse it. Use a hammer hitting the ring. Put the nut on the tie rod end before you lose it. Don't reuse any cotter pin.
4. Take the cotter pin and nut off the lower ball joint. If the cotter pin is stuck, break off the "legs" by wiggling them in their hole. Soak with penatrating oil like PB Blaster. The nut size is a 24mm socket. Do not take the nut completely off, this will protect the threads (from hammer blows) should you reuse it and will prevent it from dropping off/out of the I-beam when the upper joint is free.
2. The upper ball joint is held in place with a pinch/clamp bolt. Clean away the rust and dirt out of the slot in the middle. Soak the shit out of it with penatrating oil like PB Blaster, then take that bolt out. NOTE: Tap the bolt with a hammer to help free it (don't over do this or you will mushroom the bolt head), some LIGHT heat may also be helpful.
 3. Your ranger has a camber adjuster (factory is preset) on the top of the I-beam to adjust the camber when the vehicle is aligned. It is trapped by the pinch bolt. Make a note where the camber adjuster was position, so that if it's adjustable you can put it back in the same place, or your alignment will be changed. You have to pry the adjuster out, soak with penatrating oil. Use a rod seperator or an open ended wrench to pry it up. Clean/polish it before reinsertion.
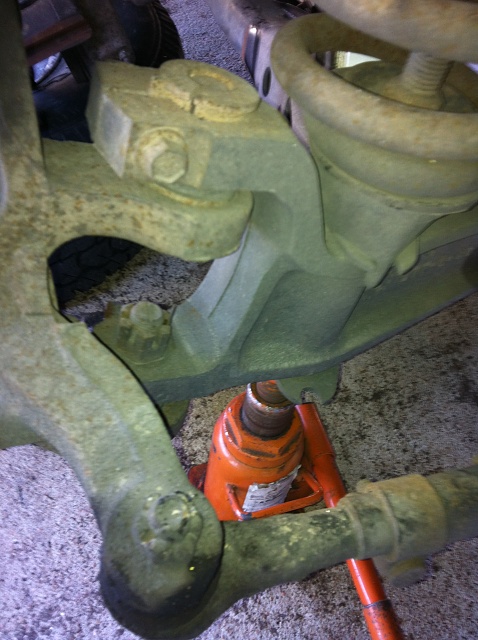
8. There isn't much holding the spindle in place now. You have to hit the bottom ring of the I-beam to free the lower ball joint. If you strike the eye with your hammer, it should break loose (see graphic).
9. When it releases, the heavy spindle will pop down, held in place by the nut. Remove the nut, remove the spindle.
TIP1: Check the brake line. If damaged, now is good time to replace it.
TIP2: Check all front end joints for replacement. These parts are fairly cheap online.
 1. Borrow the special ball joint press from the auto parts store ("C-frame assembly tool") to press the new ball joints in or out.
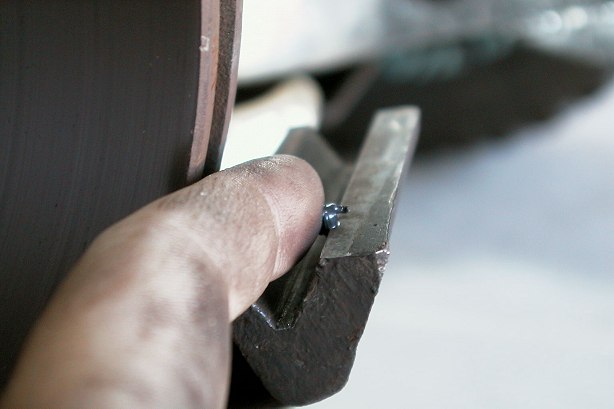
2. Remove any old grease fittings and rubber boots. The upper ball joint has a snap-ring on it. Spray the ball joint with the PB blaster both sides and the sanp ring. Hit the end of the end of the snap ring with a chisel or screwdriver to break it free from the rust, then used needle nosed pliers or a screwdriver to spread the snap ring enough to work it up out of the slot. Snap ring pliers also work.
3. The lower ball joint doesn't have a snap ring. It has a lip on the top of it (inside part of spindle) to keep the ball joint from going down through the hole. The lower ball joint can only be removed in one direction. The lower ball joint has to be pressed UP or tapped/beat up to remove it! Hit it with the PB blaster both sides. Prior to installing the replacement ball joints, clean the wheel spindel ball joint bores thoroughly, remove any burrs, grease bores with finger.

4. The upper ball joint should be installed first. Using the C-frame and ball joint installer, press the upper ball joint into place. Install a new snap ring into the groove at the bottom of the ball joint.
5. Using the C-frame and ball joint installer, press-in the lower ball joint.
6. And install the grease fittings. Install the wheel spindle. Grease the ball joints.

No comments:
Post a Comment
We would love to hear your comments.